 RSS
RSS

Making your bed
 Well, wasn't this past weekend just a gardener's dream? The weather was perfect, not too hot, breezy and even Saturday was overcast, which is great for planting. My Saturday was not spent planting -- but buying!
 All the local nurseries and greenhouses had to have been packed, and I mean with customers, not just flowers!
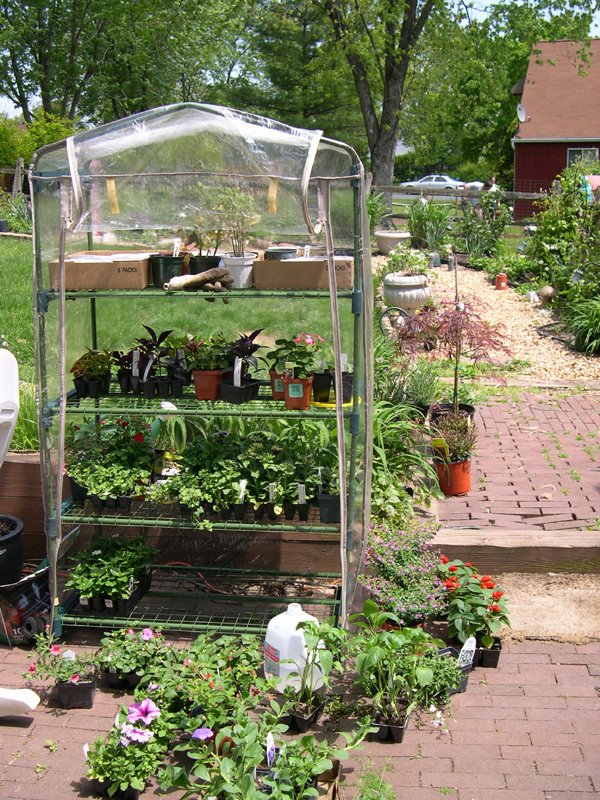
My local greenhouse of choice, Glick's in Oley, had to have moved a lot of merchandise on Saturday -- and not just because of me. Actually, I was there making my purchases Thursday afternoon, Friday night and Saturday afternoon! There's always something else I absolutely have to have for a perfect garden display, and I guarantee you that Saturday was not my last trip...

I also made a trip to Lowe's and got a great little shrub that I'll tell you more about tomorrow. And I found a new variety of sweet potato vine at, of all places, Redner's Market in Douglassville! You never know where you're gonna find that new must-have plant!
Anyway, today's entry is all about making a new garden/flower bed. Last year, toward fall, I joined a national gardening club, and was sent a pack of Cutting Garden seeds as a Thank You. Since my beds are pretty packed with plants already, I decided that I had to create a new one. A cutting garden is just what it sounds like -- a garden that features flowers meant for cutting and displaying in vases indoors or outdoors.
So last fall (yes, that's right) I staked out an area in my side yard next to the gardening shed. This particular spot gets plenty of morning sun and will also make a nice view for my neighbors' kitchen/dining window. After attaching some chicken wire to the stakes, I gathered up some dead leaves and chopped them. If you don't have a leaf vacuum that will do this, you can always just put the leaves in your trash can and use an electric/gas lawn trimmer to chop them.
I placed five or six sheets of used newspapers on top of the grass and then covered it with about five inches of chopped leaves. It's important to do this in the fall because over the winter, hopefully, rain and/or snow will wet the leaves, help break them down and keep the grass from coming through.
OK, so it doesn't work perfectly (at least not for me). The grass has been starting to come thru, so yesterday I figured I'd better either clean up the whole mess or really make a garden of it. So I went up to the ole' compost bin and started pulling compost material off the top. And guess what I found underneath, way on the bottom -- I think it was some actual usable compost!! Finally! It only took two years, but I think it's ready. (I detailed my composting problems in a prior blog, it's in the archives if you're interested.)
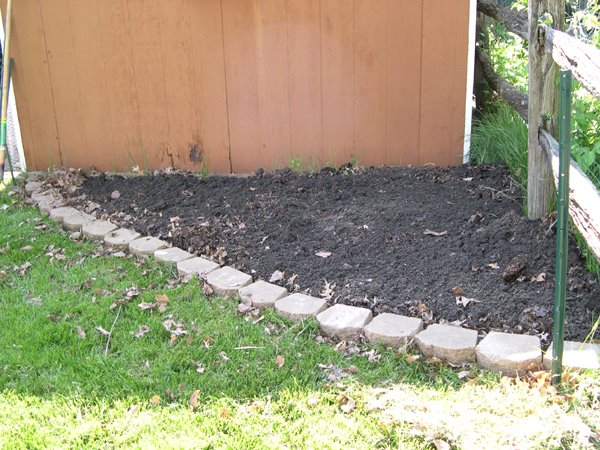
Anyway, I put a good layer of the compost on top of the not-so-decayed leaves and then finished with a layer of topsoil. A few retaining wall blocks to hold it all in and voila, a new garden bed! Now it's all ready for the seeds -- I'll let you know how it goes!
Coming up tomorrow -- can't wait to show you my Dwarf Rhododendrons
posted by Garden Gal at
10:57 AM
![]()


0 Comments:
Post a Comment
Links to this post:
Create a Link
<< Home