 RSS
RSS

Growing Pains
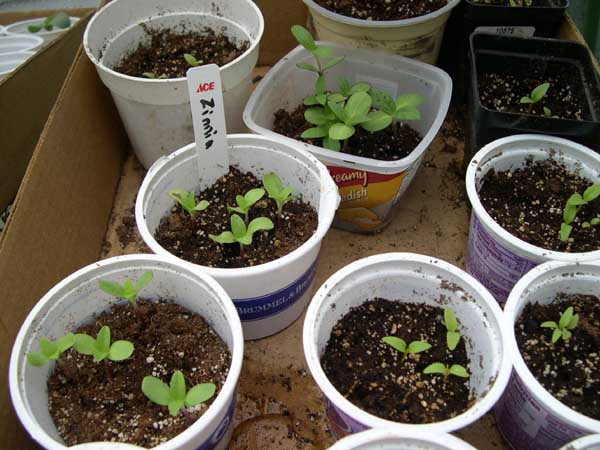
 OK, you've made your plant selections, carefully chose the right spot, gently planted, mulched, fertilized and watered and ........ NOTHING'S HAPPENING!!
Yes, this can be very frustrating, but unfortunately, there's nothing more we can do except to wait until the evening temperatures warm up. Plants do most of their growing overnight, just as our bodies replenish while we sleep. And even though Sunday will be June 1, we're again having a cold spring (I know, we'll all be complaining soon enough when the average temp is 90 degrees). As long as everything stays green, continue to water and, eventually when the temp goes up, things will grow!
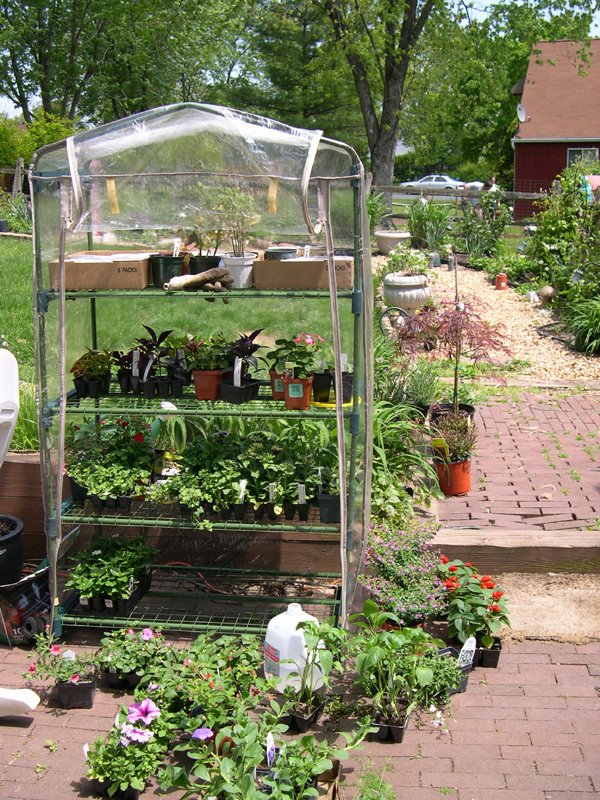
And while you're waiting, take advantage of the many sales being offered now that the May rush for planting is over. There's plenty of surplus at nurseries, greenhouses and garden centers so go ahead and check it out. This is the time to get that certain plant you weren't sure would do well in your garden, now that it's discounted.
Today begins Glick's Greenhouses (in Oley) sale. 3-, 4- and 6-packs of flowers and veggies will be half price. Hanging baskets, one-quart perennials and wave petunia's will all be discounted as well until Jun
 e 30.
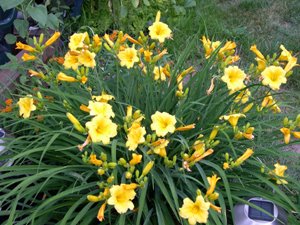
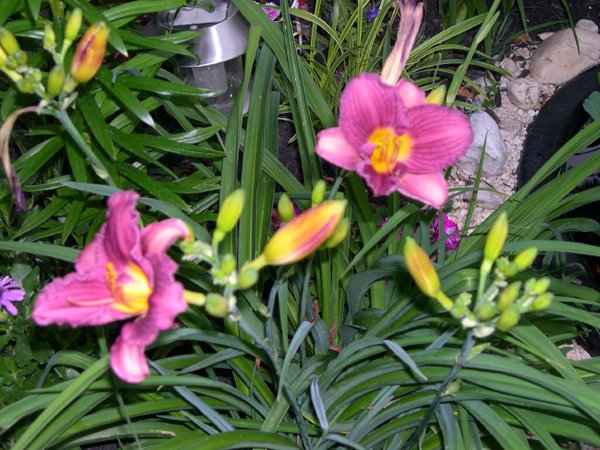
e 30.And if you go, take the time to cross the street and check out Manatawny Creek Daylillies. They have the finest and most diverse selection of daylillies you've ever seen. And the prices are right too, depending on whether or not it is a registered plant. I bought six different varieties there over the last two years and they've thrived. And the colors are fantastic. Some are even proven show winners!
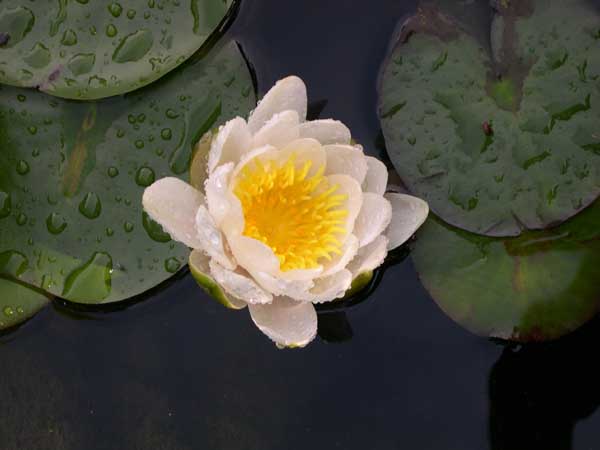
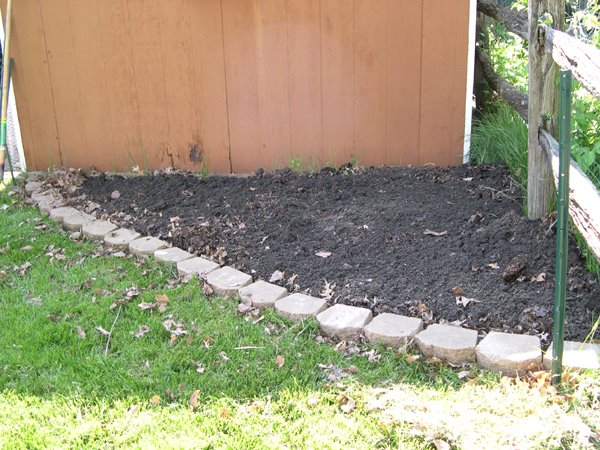
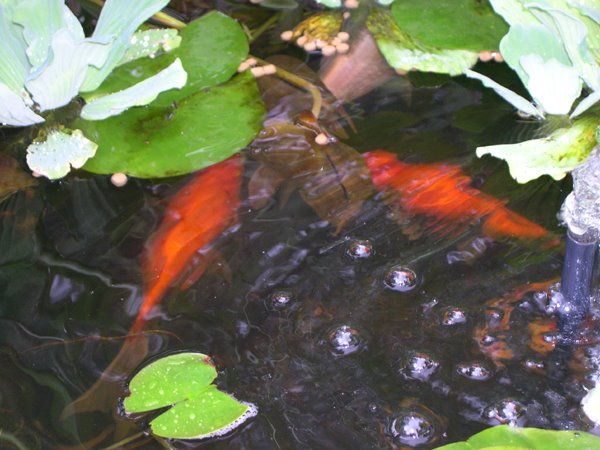
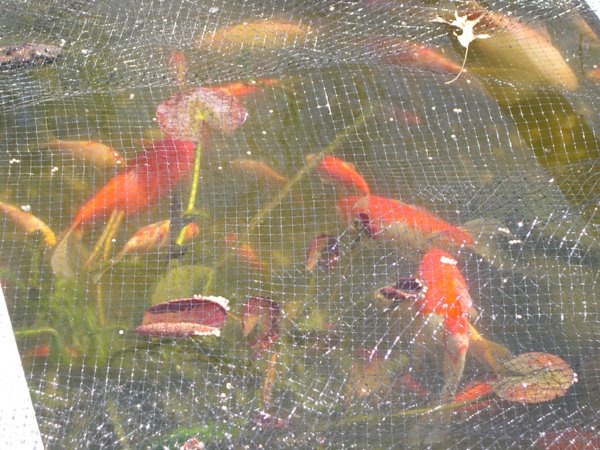
This weekend I hope to get around to some much needed pond maintenance. I'm starting to have an algae problem, and we still need to install the new waterfall. I also plan to get my Earth Boxes planted as well --- what are Earth Boxes you ask? Well, you'll have to wait until next week to find out ...
Labels: daylillies, earth boxes, gardening, Glick's, growing, Manatawny Creek Daylillies, planting
posted by Garden Gal at
10:33 AM
0 Comments
Links to this post
![]()


